
My first little boy was three yesterday. Such a big boy already. Ooops something in my eye… He insists he can pick me up already which is no mean feat.
AND, this week his preschool celebrated no less than three birthdays. That means a whole lot of cupcakes, muffins,and sweet birthday treats. Not that I am a stickler for birthday treats, hey, I cooked an Oreo cake. Toddler sugar HIIIIIGGGGHHHHHHHHHH!
However, in the interests of introducing a little less sugar to school life and a bit more fruit, I opted to make a watermelon shark for the preschool party. And, yes, I realise fruit contains natural sugar, but its also full of fiber, vitamins and nutrients, and its gotta be better than cake everyday right? In the least I enjoyed making it, and I think the kids had fun eating it to.
I originally saw a version of this on pinterest (I’m on there if you want to find me BTW) and I made my first watermelon shark for my youngest’s 1st birthday. It’s a bit like pumpkin carving, but unlike pumpkins, watermelons are plentiful in Singapore all year round, and a fraction of the cost.
So without further ado, here’s my step by step of how to make a watermelon shark.
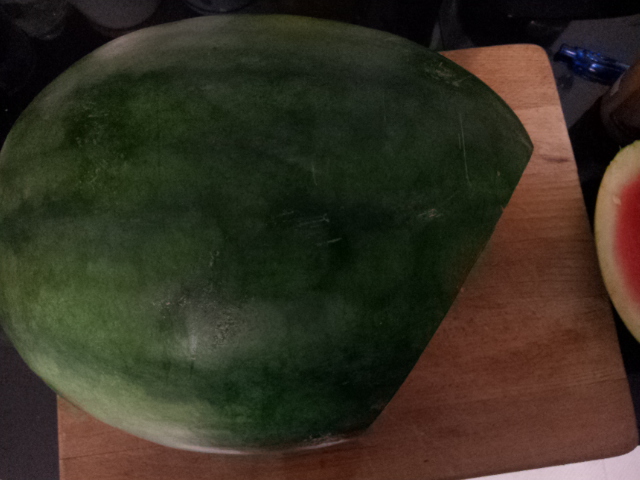
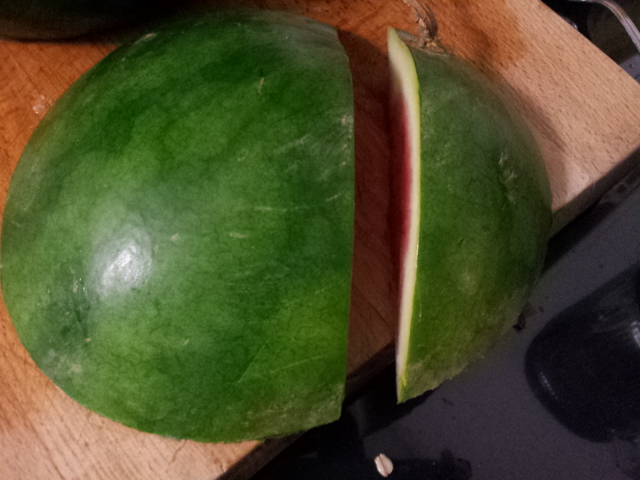
Step 1. Slice the end off at an angle.
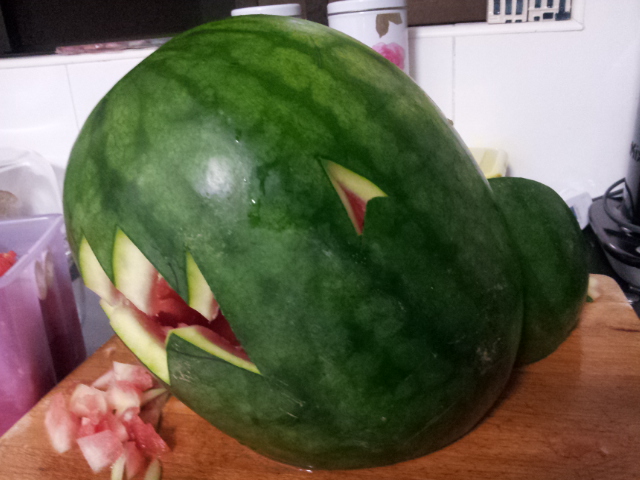
1. Take one large watermelon and a large long sharp knife. Slice the end of the watermelon off on a slight diagonal. You want your watermelon to stand on this flat end and look like a shark head jumping up out of the water.
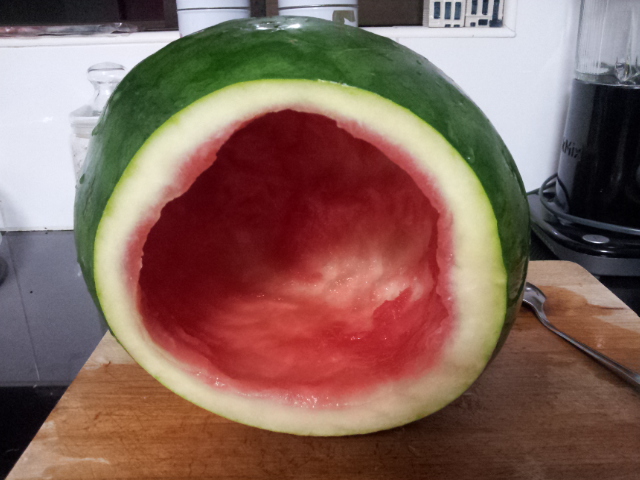
Step 2. Scoop out the flesh and seeds from your melon.
2. Scoop out the flesh of the melon. I save the flesh for eating and blending for smoothies. Leave a little flesh along the edge of the melon where the mouth will go as it adds a little extra gore as pink flesh or blood on the teeth!
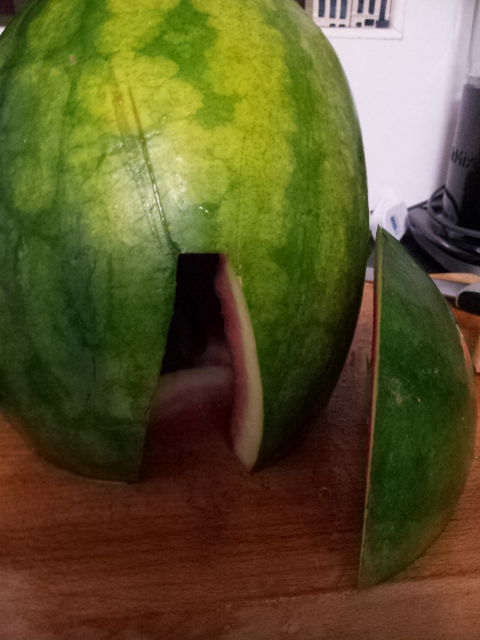
Step 3. Cut a vertical wedge out of the side of the melon.
3. Cut a vertical wedge up from the bottom (open) end of the melon. This is where your shark’s fin is going to slot in. So this will be the back of the ‘head’ of your shark.
Step 4. Cut your sharks fin (melon lid) diagonally
4. Take the lid of your melon and cut diagonally in to approximately 2/3 and 1/3. This is going to be the shark’s fin.
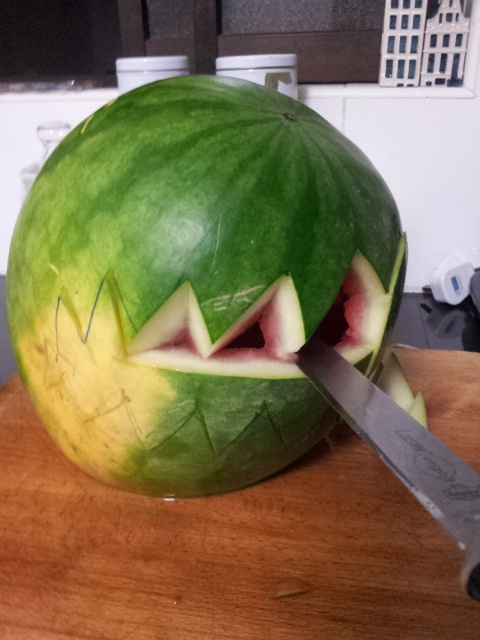
Step 5. carve out the jaws with teeth
5. Carve out your sharks jaw with teeth. You can use a permanent marker pen to mark out the teeth as a guide. If you cut at an angle you see a bit more of the white flesh of the melon which looks more like teeth.
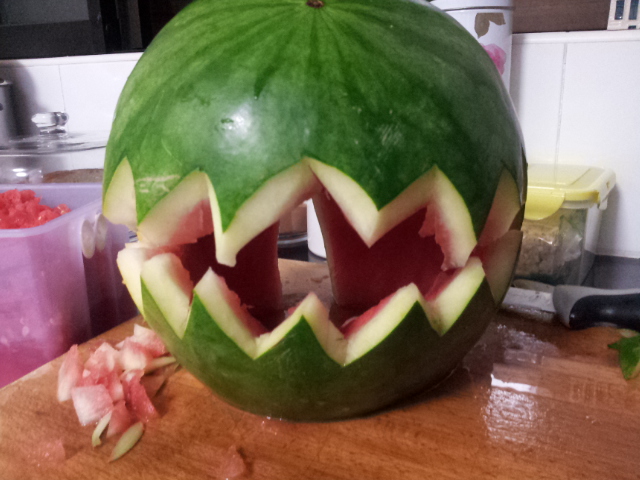
JAWS!
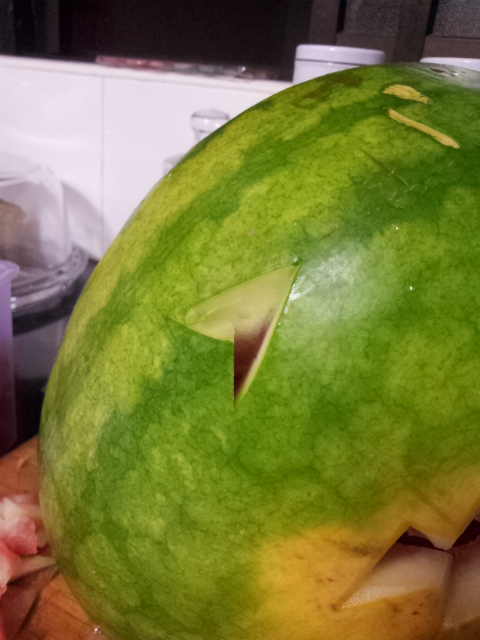
Step 7. Carve out the eyes
6. Carve out the eyes. You’ll insert a blueberry here later so don’t worry too much about the shape. I do a triangle so it looks a bit like a cartoon scary sharks eye.
Step 7. Insert your shark’s fin and plate up
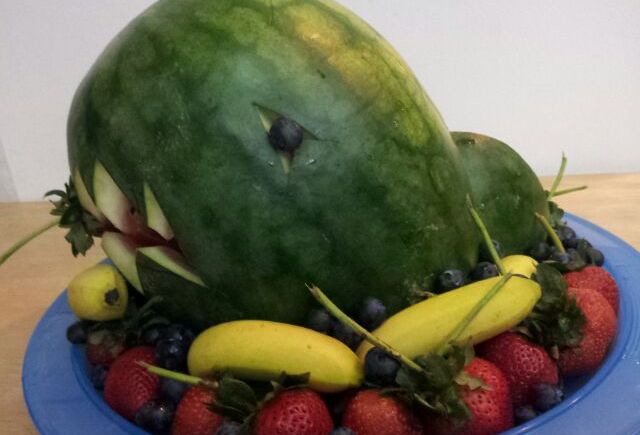
7. Slot your fin into the wedge at the back of the head and plate your shark up. I have a large round plastic blue tray which was perfect. Last time I used a regular large plate and cut some blue card out in wavy strips and sellotaped them to the plate around the shark to look like waves. This time I arranged my bananas to look like waves!
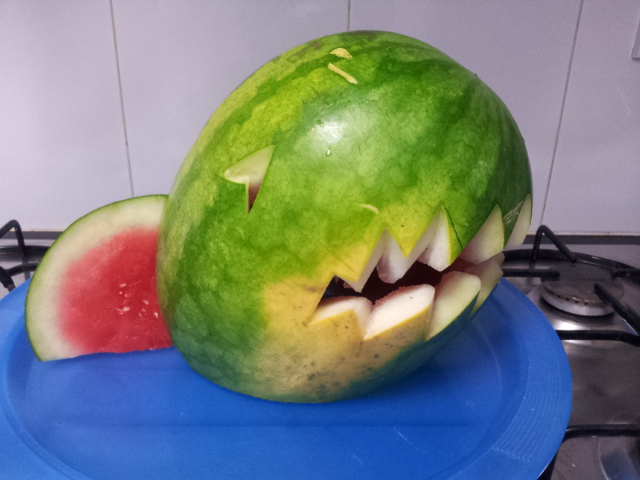
Shark head on my blue plate, photo of the other side
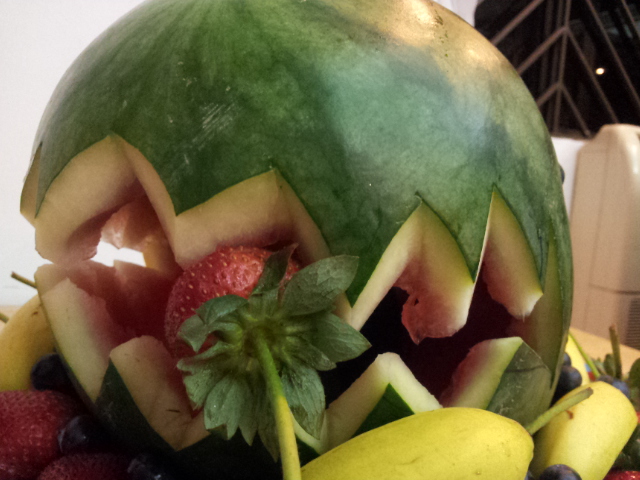
Step 8. Arrange fruit inside the jaws and on the plate
8. Arrange your pre-washed fruit around the head. Put your blueberries into the ocular cavities – which sounds so gross but reminds me of my favourite film ‘So I Married an Axe Murderer’. Peculiar humour moi? You can put grapes inside the head, strawberries, blueberries and bananas all around. The version I saw originally had watermelon balls in the head but I found this got very wet and messy!
I wonder if a punch bowl would fit inside for the grown-ups next time?… Rum fruit punch with a bite!
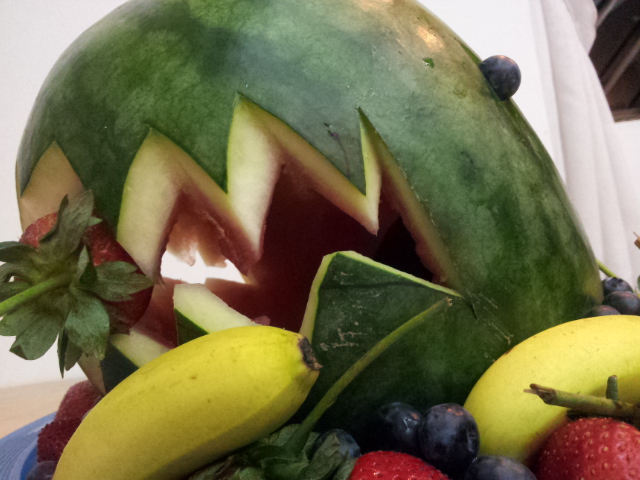
Shark attack!


